
Last updated November 21, 2026
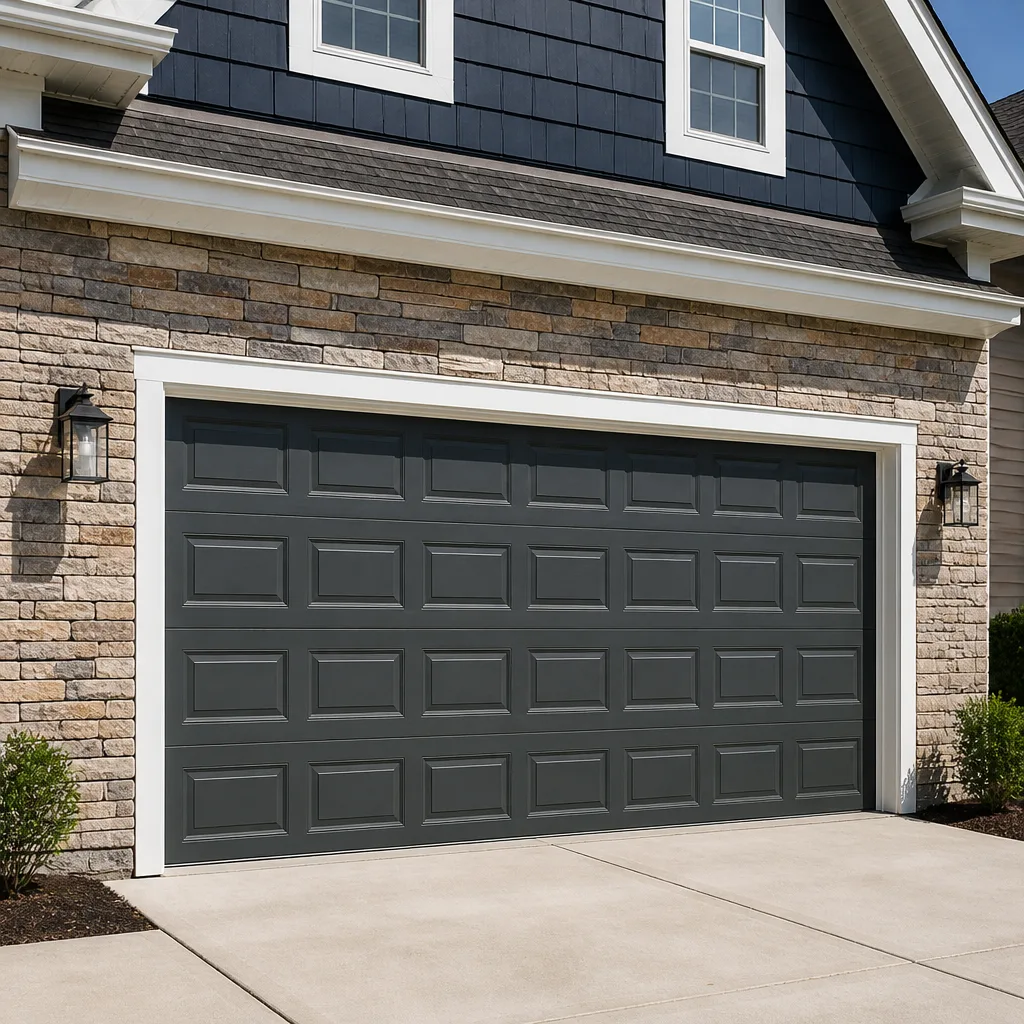 Raised-panel steel
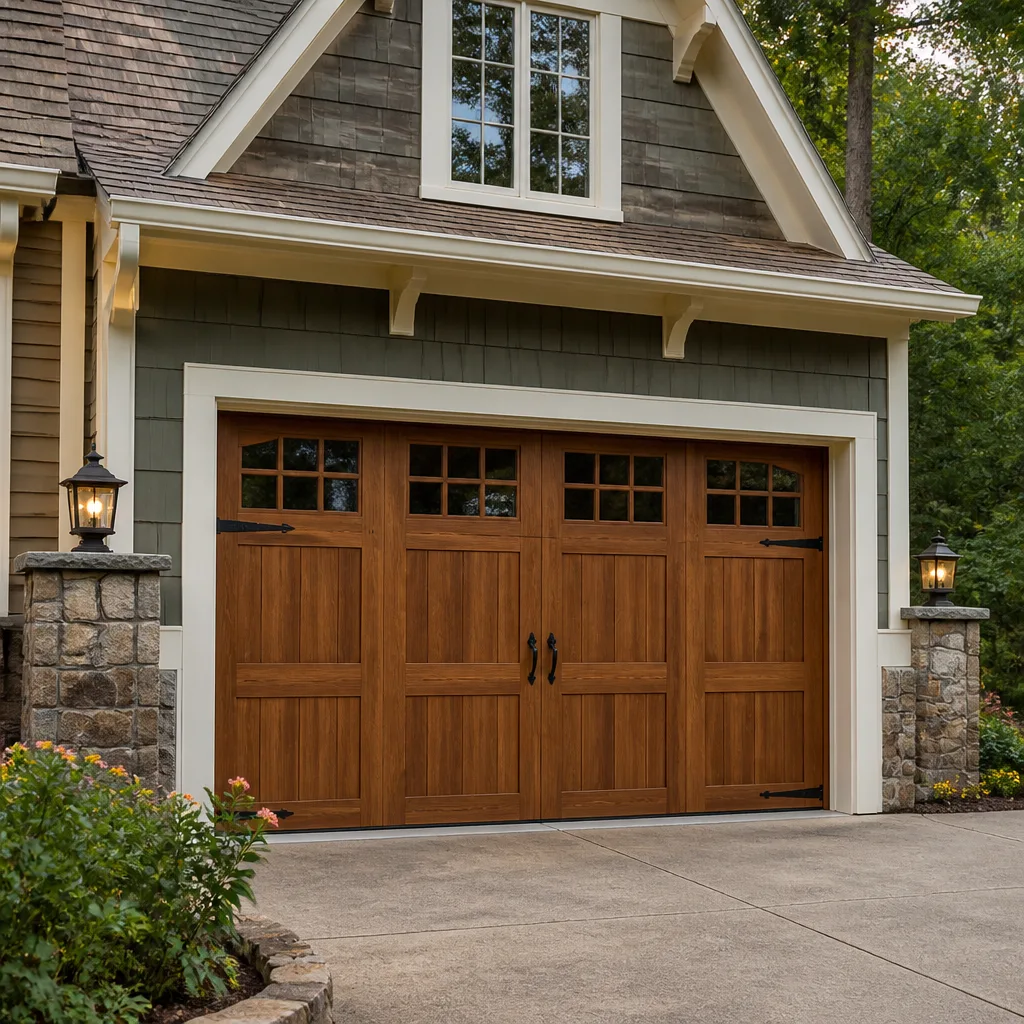 Carriage house
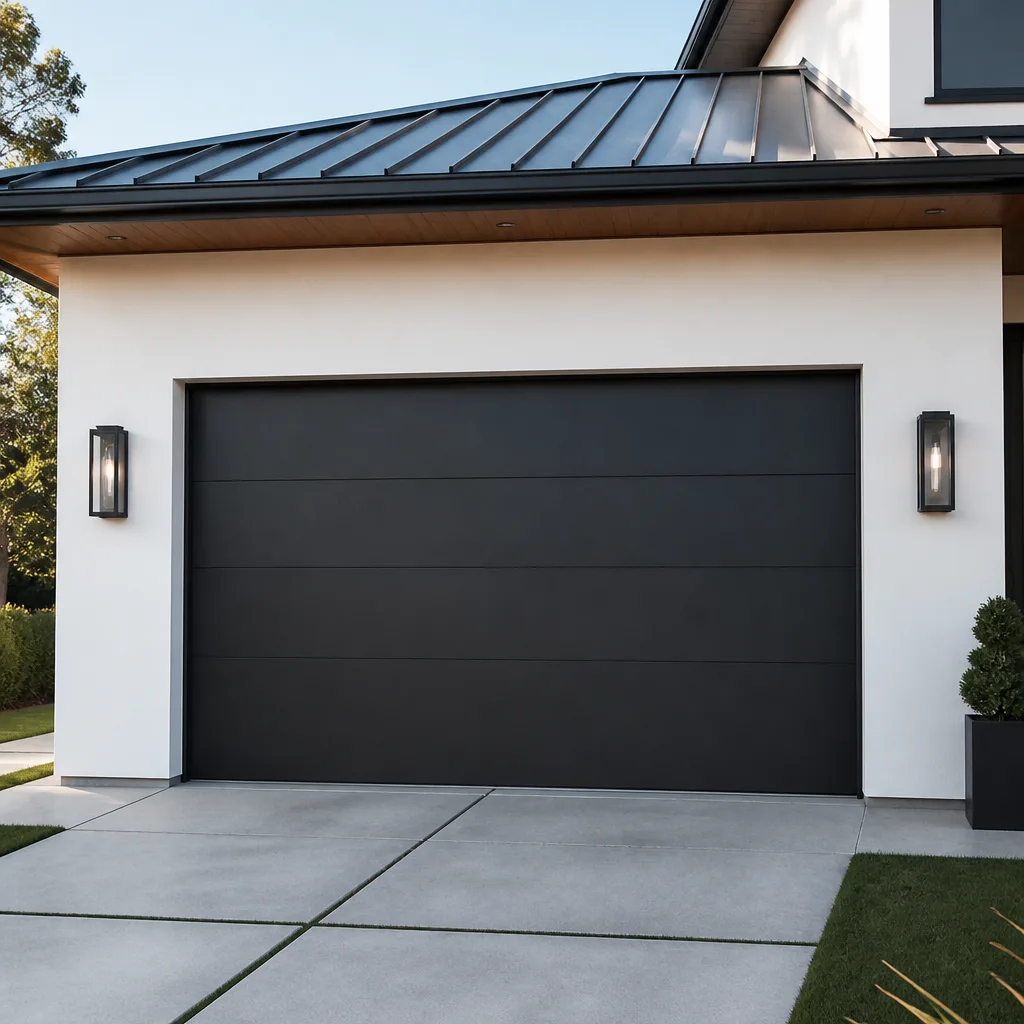 Modern flush
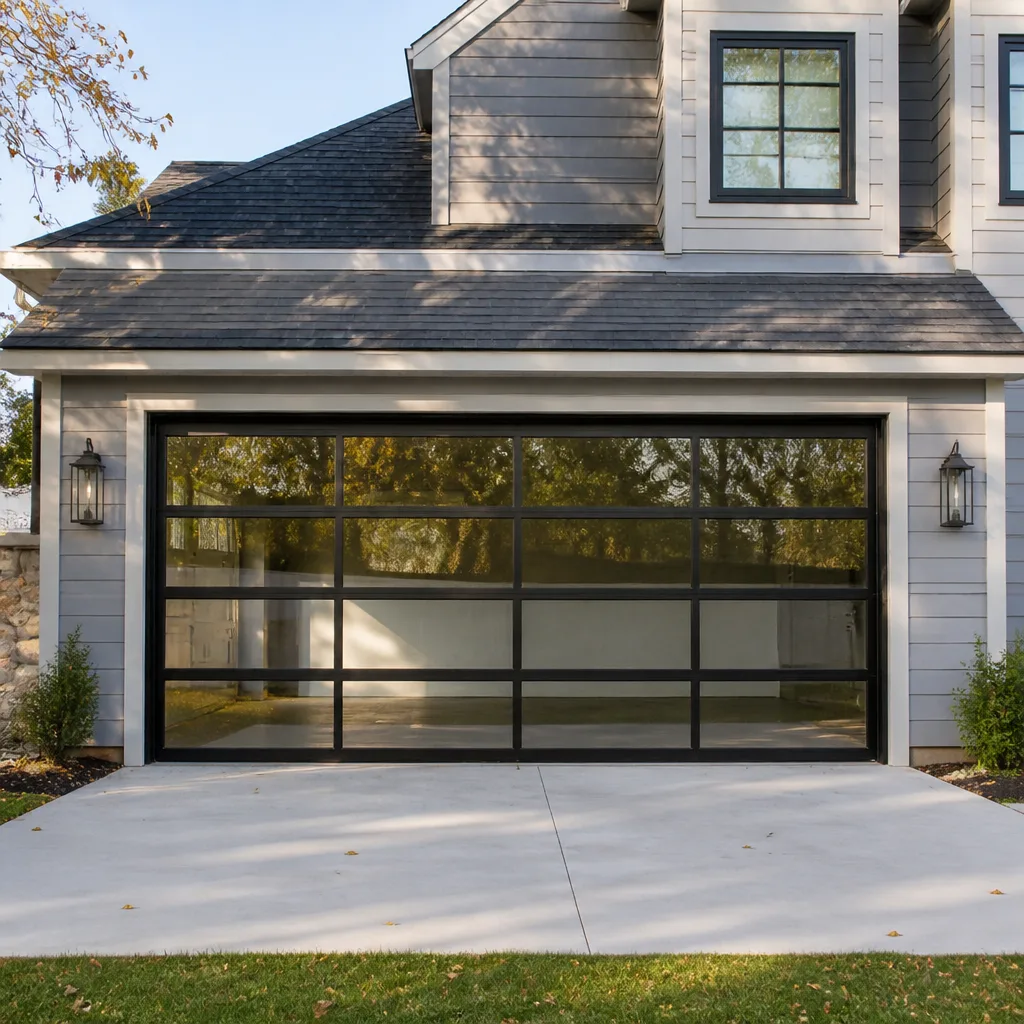 Full-view glass
 LiftMaster openers
 Chamberlain openers
Full 25-point door and opener safety check with every visit - springs, cables, rollers, tracks, and your LiftMaster or Chamberlain opener included
You get a price before we start. It does not change when the pro arrives.
Get your free estimateGarage Door Repair Maintenance Checklist for West Ridge Homeowners
Most spring failures don’t start with a snap. They start with a door that’s been slightly out of balance for months, opening a little harder each week while nobody notices. By the time the spring breaks, it’s usually been complaining for a while. In our experience, the homeowners who catch that early are the ones who avoid the loud, expensive version of the problem. This guide walks through the exact sequence a technician follows on a maintenance visit, translated into what you can check yourself at home in West Ridge. You’ll learn the balance test, which parts to lubricate and which to leave alone, how to read a cable without touching it, and why your bottom seal matters more here than in most places.
Quick Answer
A garage door maintenance checklist for West Ridge homeowners covers six things: a balance test, a visual inspection of springs, cables, rollers and tracks, targeted lubrication of the correct parts, a weatherstripping check for winter, a test of the opener’s safety reverse, and tightening of the mounting hardware. Do the quick checks quarterly and the deeper inspection once a year, before the cold settles in. Anything involving springs or cables should go to a trained professional rather than a DIY fix.
Styles & brands we work with
- Raised-panel steel
- Carriage house
- Modern flush
- Full-view glass
- LiftMaster openers
- Chamberlain openers
Table of Contents
- The Balance Test: The First Thing to Check
- Lubrication: What to Grease and What to Leave Alone
- Inspecting Cables and Springs Without Touching Them
- Weatherstripping and the West Ridge Winter
- Testing Your Opener and Safety Reverse
- Hardware, Tracks, and Rollers
- Quarterly vs. Annual: Your Printable Task Split
The Balance Test: The First Thing to Check
The balance test is the single most useful thing a homeowner can do, and almost nobody does it. It tells you whether your springs are carrying the door’s weight evenly or whether one side is quietly doing more work than it should. An unbalanced door puts extra load on the springs, the opener, and the hinges every single time it moves. Over months, that’s what wears a spring out early.
Here’s how a technician does it, and how you can too:
- Close the door and disconnect the opener using the manual release cord (usually a red handle hanging from the trolley). This takes the motor out of the equation so you’re testing the door, not the opener.
- Lift the door by hand to about waist height and let go. Don’t force it; just guide it up and release.
- Watch what happens. A balanced door should stay roughly where you let go, maybe drifting an inch or two. If it slams down, the springs are too weak. If it rises on its own, they’re too strong.
- Repeat the test at the halfway point and again near the top. The door should feel similar at every position, not heavy at the bottom and light at the top.
- Reconnect the opener when you’re done.
What the result means: a door that won’t hold position, or that feels noticeably heavier on one side, is out of balance. That doesn’t automatically mean new springs, but it does mean it’s time for a professional look. In West Ridge, where doors run constantly through snowy months, an out-of-balance door is the most common reason we see springs fail before their time. If your door fails the balance test, it’s worth having it checked before winter rather than after.
Lubrication: What to Grease and What to Leave Alone
“Lubricate moving parts” is the laziest line in every maintenance checklist, and it’s the one that causes the most problems. Some parts need lubrication and some absolutely should not get it. Putting the wrong product on the wrong part attracts grit, gums up rollers, and can actually shorten the life of your hardware.
Parts that should be lubricated
- Hinges: a light spray at each hinge pivot point, once or twice a year.
- Track curves and the vertical track: a thin film, not a coat. Too much attracts dust.
- Springs (extension springs, and the coils of torsion springs): a light application reduces friction and quietens the door. Do this with the door closed and the tension released only by a professional, or ask them to do it during a service call.
- Roller bearings (steel rollers only): a drop at the bearing, not the wheel.
- The opener’s chain or screw drive: use the lubricant the manufacturer specifies, not general-purpose grease.
Parts that should never be lubricated
- Nylon rollers: the wheels are designed to run dry. Grease attracts grit that grinds the nylon down.
- Plastic or nylon hinges and idler wheels: same reason.
- The track surface where steel rollers run: a heavy coat is the wrong move. A thin film is enough; a thick one collects debris and causes the door to bind.
- The photo-eye lenses on your opener’s safety sensors: wipe them clean, don’t grease them.
The right product matters too. A silicone-based or white lithium spray works well for most door hardware. Avoid WD-40 as a long-term lubricant; it’s a penetrant, not a grease, and it evaporates. If you own a LiftMaster or Chamberlain opener, the manufacturer’s manual specifies the correct chain lubricant, and it’s worth following it rather than guessing. When a technician services a door, this is the part most homeowners are surprised by: half the visit is spent checking what shouldn’t be lubricated, not what should.
Inspecting Cables and Springs Without Touching Them
Here’s the rule that matters most: inspect cables and springs with your eyes, never your hands. The cables on a garage door are under extreme tension, and the springs store enough energy to cause serious injury if they release unexpectedly. A trained professional wears the right protection and knows how to work around that stored energy. A homeowner inspecting at a distance doesn’t need to.
What to look for on the cables
- Fraying: look for broken strands sticking out from the cable, especially near the drum at the top of the door. A frayed cable is a cable that’s about to fail.
- Kinks or bends: a cable that runs straight and smooth is healthy. A kink means it’s been stressed or mis-routed.
- Rust: surface rust is common, but heavy corrosion that eats into the strands means replacement.
- Sagging: a cable that’s visibly loose on one side but tight on the other is a sign the door is out of balance or a drum has slipped.
What to look for on the springs
- A visible gap in a torsion spring: if you can see a gap between the coils of the spring above your door, it’s broken. Don’t operate the door.
- Stretched extension springs: springs that look longer than they should, or that hang loosely, are worn out.
- Rust or discoloration on the coils, which points to age and fatigue.
Any of these signs means: stop using the door and call a professional. A door with a broken spring, a frayed cable, or a visible gap in a torsion coil shouldn’t be opened by hand or by the opener. Spring repair is a job for someone trained to do it. When we handle a spring repair, the inspection that goes with it usually catches cable and roller problems the same visit, which saves you a second call later.
Weatherstripping and the West Ridge Winter
West Ridge winters are hard on the rubber seal at the bottom of your door. The freeze-thaw cycle, the constant scraping against a possibly uneven driveway, and the cold itself all crack the bottom seal over time. Most homeowners don’t think about it until water shows up in the garage or the door starts letting in a draft that raises the heating bill.
Check the bottom seal by running a hand along it (with the door down) and looking at the edge. It should be flexible, sit flat against the floor, and not have visible cracks, tears, or chunks missing. A seal that’s hardened to the point of cracking won’t seal properly, and once it’s cracked, it lets in water, cold air, and pests. That’s not just an energy issue in West Ridge; standing water on a garage floor can damage stored items and the concrete itself over time, and it’s the kind of slow problem that gets expensive if ignored.
Do the same check around the sides and top of the door. The side weatherstripping and the top seal take less wear, but they can dry out or pull away from the frame. If you can see daylight between the door edge and the frame with the door closed, the seal is doing less than it should.
Replacing a bottom seal is one of the cheaper fixes in garage door maintenance, and it’s a good job to bundle with a spring or roller service visit to save a second trip. If your seal is cracked going into a West Ridge winter, get it replaced before the first hard freeze. It’s the difference between a garage that stays dry and one that lets in water all season.
Testing Your Opener and Safety Reverse
The opener is the part of your system that gets blamed for most problems and is often not the problem. But it does have one safety feature that should be checked at least twice a year: the safety reverse. If your opener’s safety reverse has failed, that’s a real risk, especially in a house with children or pets.
Here’s the test, whether you own a LiftMaster, a Chamberlain, a Genie, a Craftsman, or a Raynor opener:
- Lay a two-by-four or a similar piece of wood flat on the floor in the door’s path (with the door open).
- Close the door with the opener. When the door hits the wood, it should reverse and go back up.
- If it doesn’t reverse, or if it puts pressure on the object before reversing, the opener’s force limit or the sensor needs attention.
- Separately, break the beam between the two photo-eye sensors at the bottom of the track with your hand while the door is closing. It should reverse immediately. If it doesn’t, the sensors are misaligned or dirty, or the wiring has a fault.
If either test fails, stop using the door until it’s fixed. A door that doesn’t reverse on contact is a safety problem, not a convenience problem. Most modern openers, whether they’re a LiftMaster or a Wayne Dalton unit, have a force adjustment on the motor housing or in the manual, but this is a job best handled by someone who knows the specific unit. In our experience, a reversing failure that isn’t a dirty sensor is usually an opener issue, and it’s one of the more common things we find during a service call.
Hardware, Tracks, and Rollers
The hardware is where doors quietly fall apart. Hinges loosen, rollers wear, and the door slowly loses alignment. A quick hardware check once a quarter keeps this in check.
What to check
- Hinges: look for loose screws, bent leaves, or cracking. Tighten any loose screws. If a screw won’t hold, the hole is stripped, and that’s a panel issue, not a hinge issue.
- Rollers: spin each roller by hand (with the door closed) and check for wobble, flat spots, or cracking. Nylon rollers that look chipped or flat need replacement. Steel rollers that bind need replacement or a drop of oil at the bearing.
- Tracks: the tracks should be straight and clean. Look for dents, kinks, or narrowing at the curves. Don’t try to bend a track back into shape yourself; a bent track needs to be replaced or professionally straightened.
- Panel condition: look at the bottom panel for rust or rot, especially along the very bottom edge where water pools. If you own a Clopay or Amarr door, panel replacement is available, so a single damaged panel doesn’t mean a whole new door.
- Mounting brackets and bolts: check the brackets that attach the tracks to the wall and the bolts that hold the hinges. Tighten anything that’s worked loose. This is the most overlooked part of the checklist and the one most likely to cause a mid-winter failure.
If you’re not sure whether a part is worn or just looks worn, it’s worth asking a technician to look when they’re out for something else. Parts supply matters here: having the correct replacement on hand rather than ordering a third-party substitute means a repaired door behaves like the door you bought, not a patchwork. We stock genuine parts for the eight major brands we service, so a mid-winter hinge or roller replacement doesn’t wait on shipping.
Quarterly vs. Annual: Your Printable Task Split
You don’t need to do everything every season. Splitting tasks into quarterly checks and annual deep dives keeps the work manageable and makes sure the important things actually get done. Here’s how to divide it.
Quarterly tasks (15 minutes)
- Run the balance test.
- Wipe the photo-eye lenses clean and test the safety reverse.
- Do a visual pass on springs and cables (eyes only, no touching).
- Spin the rollers and check for wobble or flat spots.
- Look at the bottom seal for cracks or drafts.
- Tighten any loose hinge or bracket bolts.
- Give the hinges and the chain drive a light lubrication.
- Listen to the door as it opens and closes. New noises are worth investigating.
Annual tasks (schedule a visit before winter)
- Full balance test at multiple positions.
- Inspection of the spring system by a professional, including spring lubrication and free length measurement.
- Inspection of cables for fraying and full-length condition.
- Replace worn rollers, hinges, and weatherstripping.
- Check the opener’s force setting and test the safety reverse in both directions.
- Lubricate the torsion spring and the track curves.
- Check for panel damage and alignment issues.
- Inspect the opener’s drive system (chain, belt, or screw) for wear.
In West Ridge, the annual deep-dive is best done in early fall. That’s when the door needs to be in the best shape, not in the middle of January when the temperature is down and the door is working hardest. A service call in September catches balance issues, worn seals and tired springs before the cold stresses them.
Common Mistakes to Avoid
- Greasing the rollers. Nylon rollers are designed to run dry; greasing them attracts grit and accelerates wear. Many homeowners do this thinking they’re helping, then wonder why the door sounds worse.
- Skipping the balance test. It’s the most informative 60 seconds in home maintenance, and the easiest to skip. A door that’s been out of balance for months is a door that’s quietly wearing out its springs and opener.
- Ignoring the bottom seal in fall. West Ridge’s freeze-thaw cycle turns a small crack into a water leak and a cold draft. Checking the seal before the first hard freeze is the cheapest fix on this list.
- Tightening a loose hinge and calling it done. A stripped screw hole isn’t a hinge problem; the panel can’t hold the screw. Tightening it harder pushes the screw through and makes the damage worse.
- Adjusting the opener’s force setting to fix a binding door. If the door is binding, the problem is the door, not the opener. Crank up the force and you’ll grind the door and the opener against each other.
- Using WD-40 as a long-term lubricant. It’s a penetrant, not a grease, and it evaporates. A silicone or white lithium lubricant is the correct choice for door hardware.
- Testing a broken spring to “see if it’s really broken.” If you can see a gap in the torsion spring, the door is unsafe to operate. Don’t test it. Call a professional.
See the difference
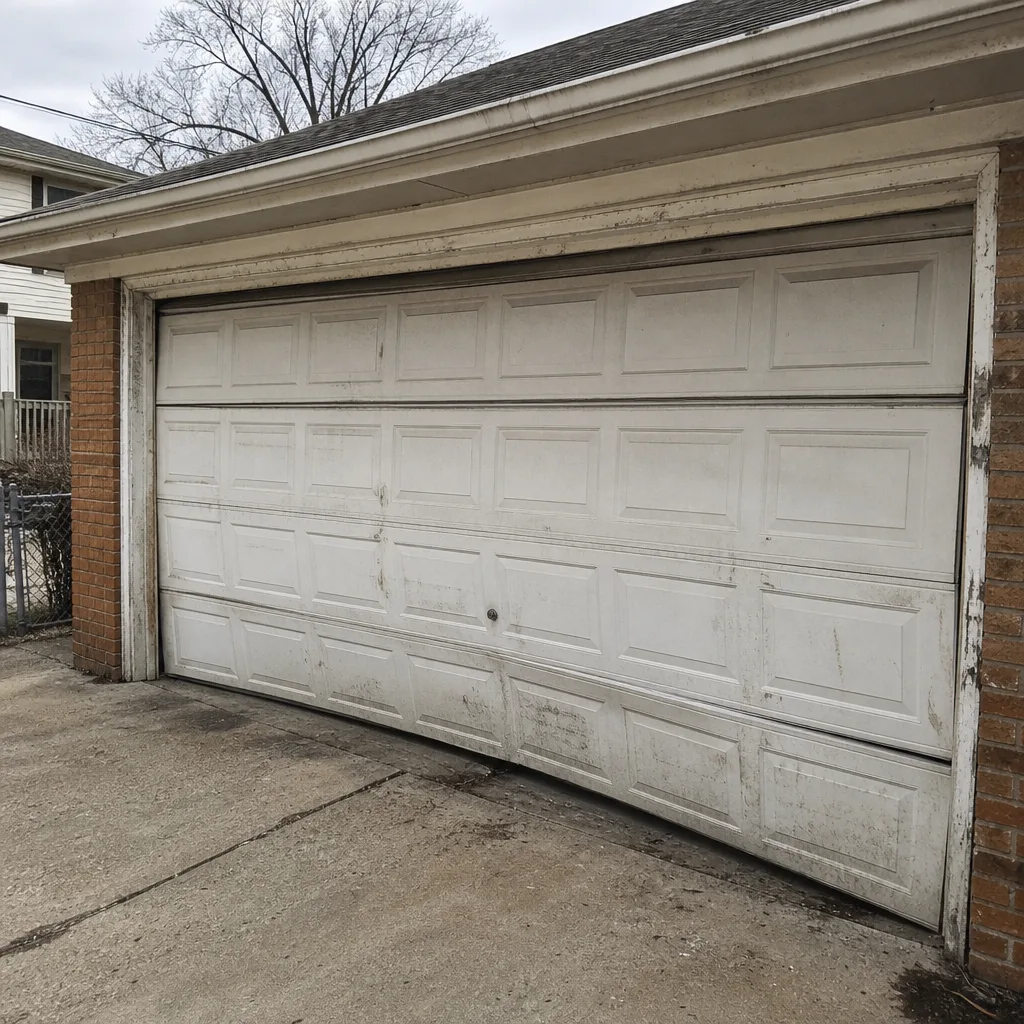 Before
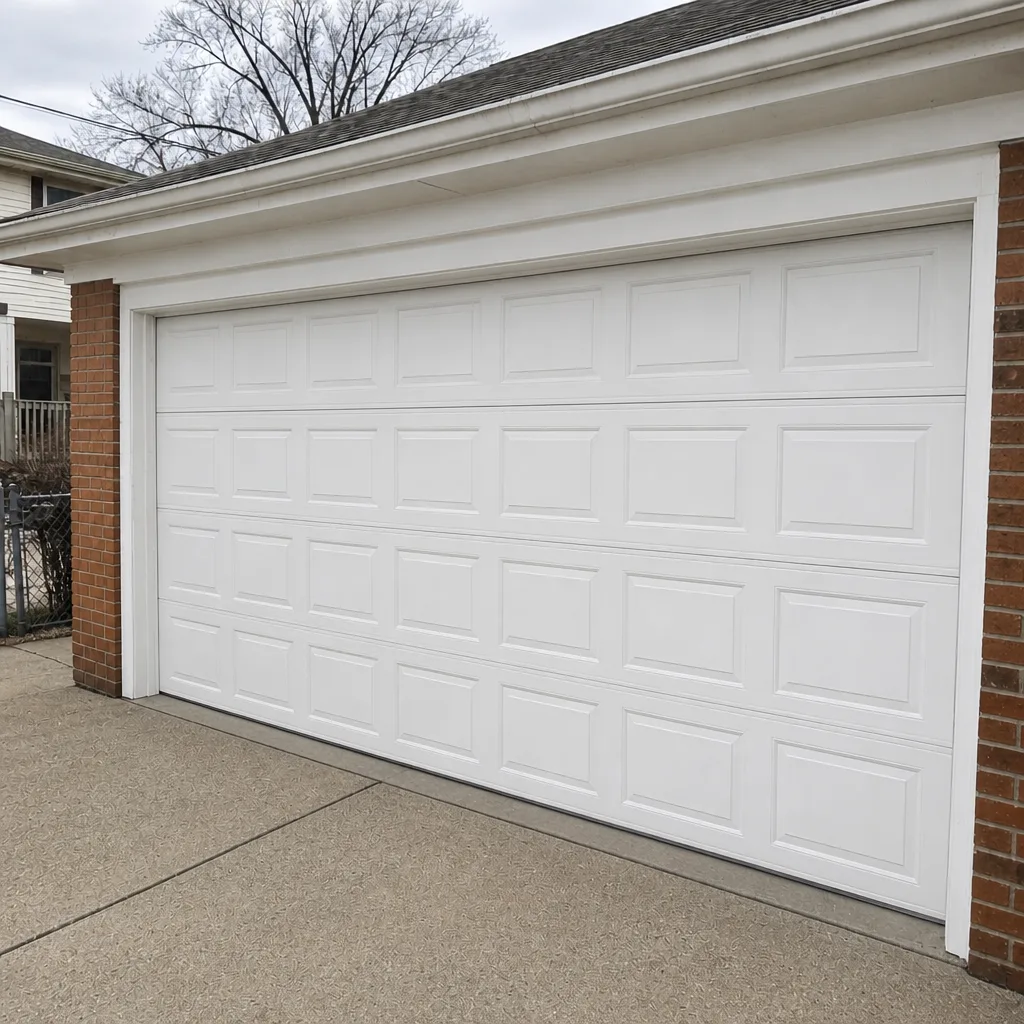 After
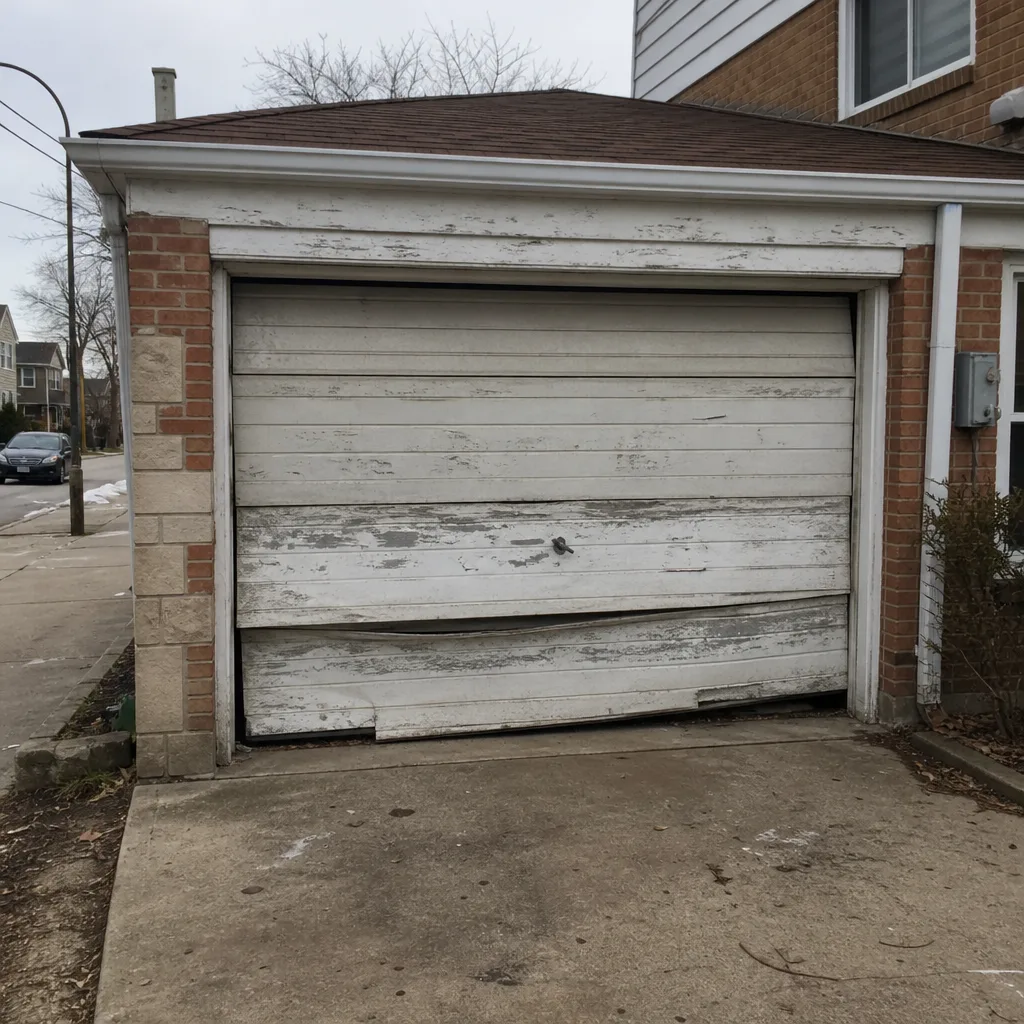 Before
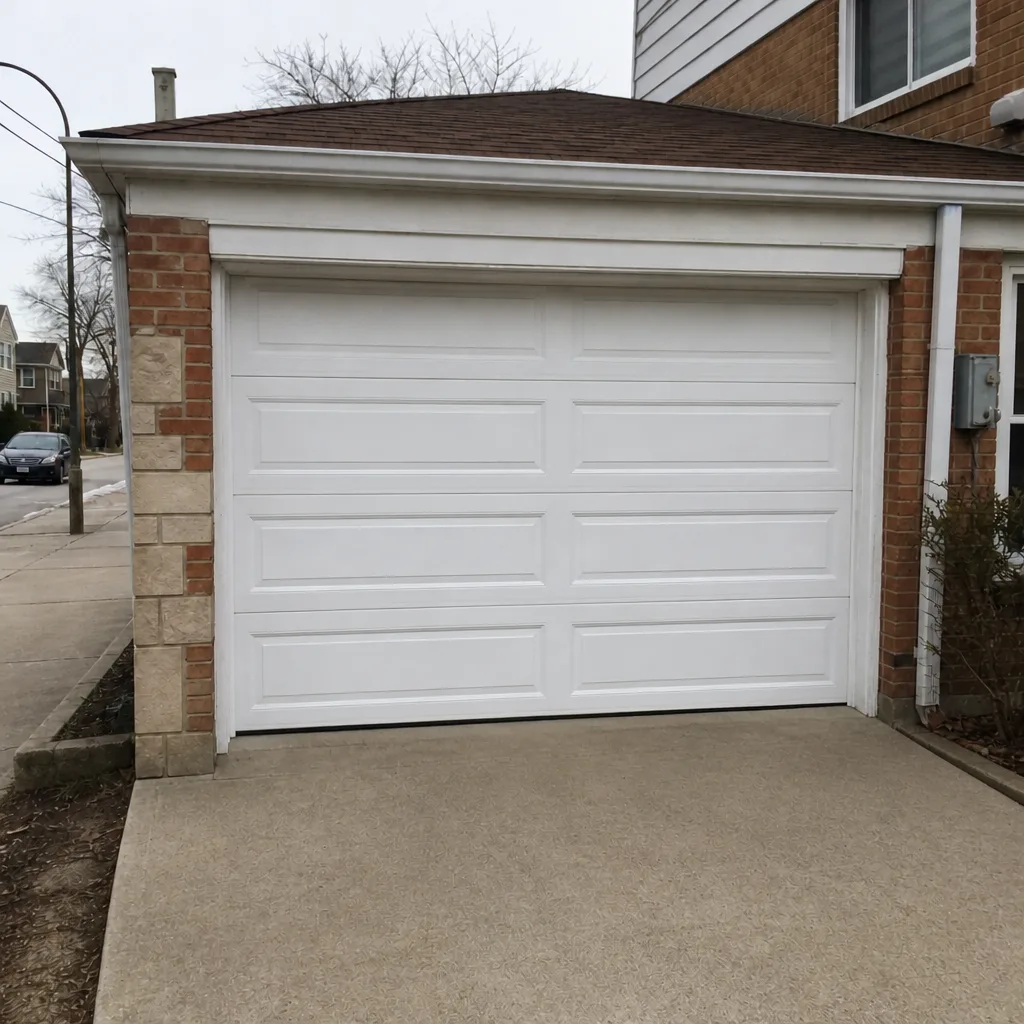 After
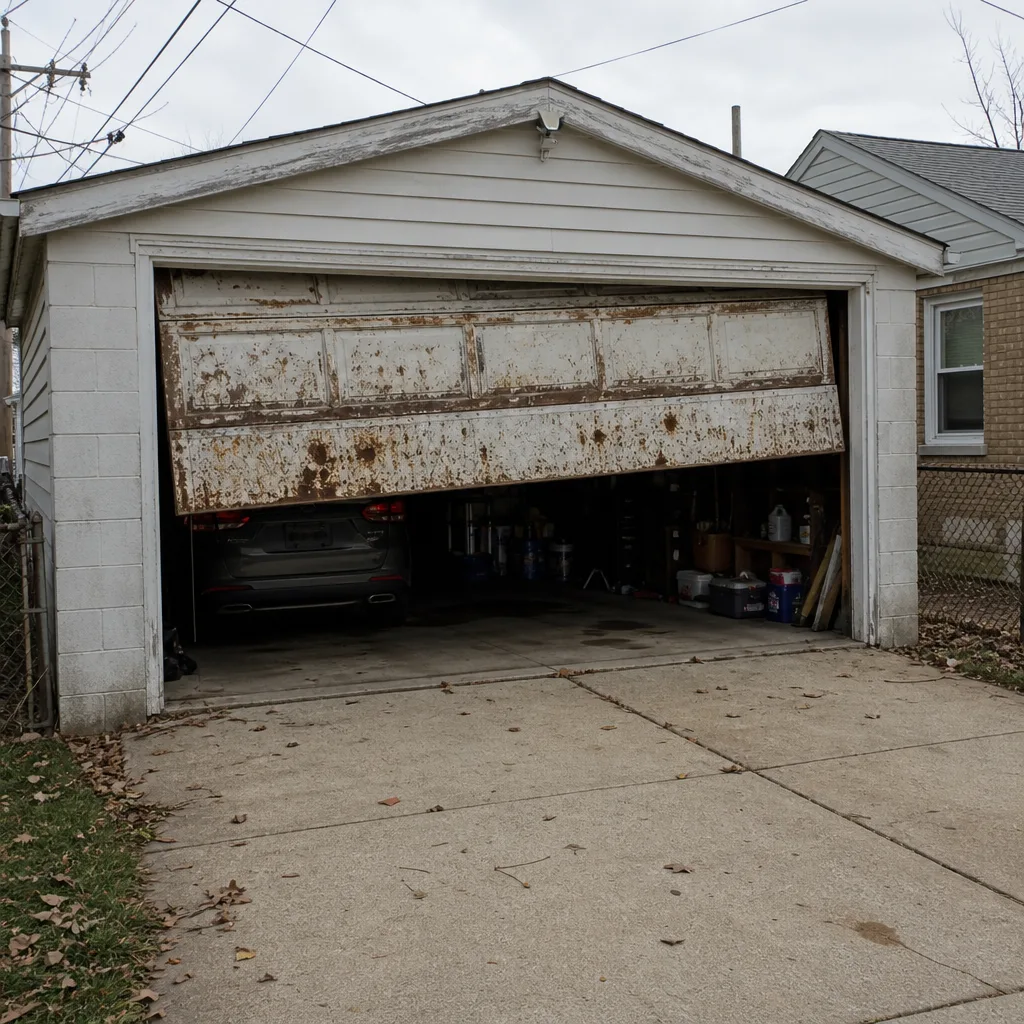 Before
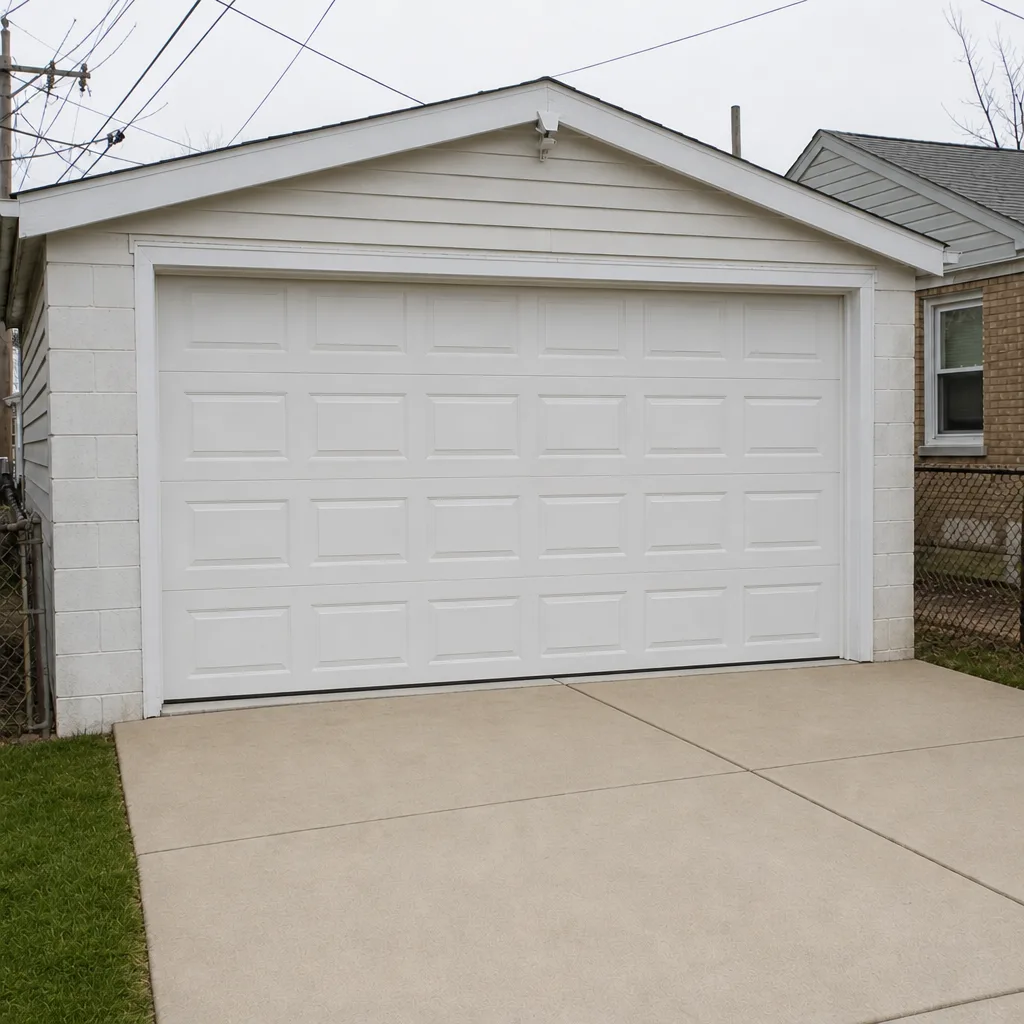 After
When to Call a Professional
Some parts of this checklist are yours to handle; some are genuinely dangerous. Springs, cables, and the torsion assembly are the dangerous ones. A garage door spring stores enough force to be dangerous to handle without the right training and tools, and a cable under tension is no different. If you see a frayed cable, a visible gap in the spring, or a door that won’t hold its balance test, that’s the point to call. Opener safety reverse failures are also worth a professional look, because the fix might be a sensor, a wiring issue, or a force setting, and it’s not worth guessing.
If you own a Wayne Dalton, Craftsman, or Raynor door and the problem is specific to your manufacturer’s hardware, a specialist who works on that equipment is the right call. Garage Door Repair West Ridge offers free estimates in West Ridge. Call (833) 736-5797. We answer 24/7. Fast dispatch from 7am to 7pm, Sunday through Friday.
Frequently Asked Questions
Do the quick quarterly checks (balance test, safety reverse, visual inspection) four times a year, and schedule the deeper annual inspection in early fall before the cold. The quarterly checks take about 15 minutes; the annual service takes longer and covers the parts you can’t safely inspect yourself.
No. Garage door springs store enormous energy and can cause serious injury if handled without the right training, tools, and protection. Even experienced DIYers should not attempt spring replacement. Call a professional; it’s not a job worth the risk.
A door that feels heavier on one side is out of balance and needs a professional look. It could be a worn spring, a stretched cable, or an issue with a roller or track. In our experience, catching it early usually means a smaller fix than waiting for the spring to break.
If the seal is cracked, hardened, or doesn’t sit flat against the floor, it’s time to replace it. In West Ridge, check it before the first hard freeze; a cracked seal lets in water and cold air all winter, and replacing it is one of the cheaper maintenance fixes on your list.
It means the opener’s safety reverse has failed, and the door shouldn’t be used until it’s fixed. The cause is usually a dirty or misaligned photo-eye, a wiring fault, or a force setting issue. Have a technician check it; it’s a safety problem, not a cosmetic one.
Only steel rollers, and only at the bearing, not the wheel. Nylon rollers should be left dry; greasing them attracts grit and wears them out faster. If you’re not sure what type of rollers you have, a technician can tell you during a service visit.
The Bottom Line
The most important thing in this guide is the balance test. It’s free, it takes a minute, and it catches the problem that causes most premature spring failures in West Ridge. Do it quarterly. Lubricate the right parts and leave the wrong ones alone. Check your weatherstripping before the cold. Test your opener’s safety reverse. And when you see a frayed cable or a visible gap in a spring, stop and call someone trained. If you want a professional to walk the full checklist for you, a service visit in early fall is the smartest time to book it. We work on the brand you already own, and we stock genuine parts so the fix doesn’t wait on shipping. Call (833) 736-5797 for a free estimate. We answer 24/7. Fast dispatch from 7am to 7pm, Sunday through Friday.
For a full range of services, from everyday maintenance to a complete Garage Door Repair West Ridge, we handle it all. If you need a specific fix, our garage door repair team covers springs, hinges, rollers, and panels. For the motor side of the system, our garage door opener repair specialists work on LiftMaster, Chamberlain, Genie, and more. And when a door has reached the end of its life, our garage door installation service handles a full replacement with the brand you choose.
Written by the team at Garage Door Repair West Ridge.